Adding a legend tool
This section describes how to add a legend to the bottom-left area of the viewer application.
Navigate to the src/app/app.js in the myviewer directory. Open up this file in a text editor. In the API documentation, find the gxp.plugins.Legend tool. This provides the Legend functionality.
The ptype for gxp.plugins.Legend is gxp_legend. Open up app.js, and configure this tool:
{
    ptype: "gxp_legend",
    actionTarget: "map.tbar"
}
Also add this plugin to the list of dependencies at the top of app.js. The file name is plugins/Legend.js.
* @require plugins/Legend.js
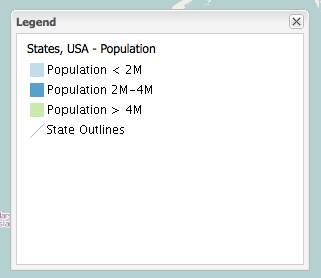
Restart the web application and reload the browser. If no other configuration is done, there will be a button in the map’s toolbar that will show a popup window with the legend of all visible layers in the viewer:

If we want the legend to be always present in the bottom left part of the application (below the layer tree), we will first create the Ext container in which the legend can be rendered. Open up app.js again, and look for westpanel. Replace the block that contains the configuration of westpanel:
{
    id: "westpanel",
    xtype: "container",
    layout: "fit",
    region: "west",
    width: 200
}
with:
{
    id: "westcontainer",
    xtype: "container",
    layout: "vbox",
    region: "west",
    width: 200,
    defaults: {
        width: "100%",
        layout: "fit"
    },
    items: [{
        title: "Layers",
        id: "westpanel",
        border: false,
        flex: 1
    }, {
        id: "legendpanel",
        height: 250
    }]
}
Next, change the configuration of the legend plugin to:
{
    ptype: "gxp_legend",
    outputTarget: "legendpanel"
}
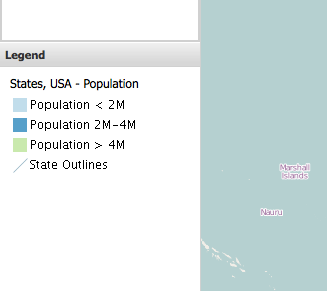
Now after reloading the server and application, the legend will show up in the container with the id legendpanel :
