Edit your data
In addition to graphical styling, GeoExplorer also allows for editing of geospatial data when the layer is served through a local copy of GeoServer. Since this is how our data was loaded, we will use GeoExplorer to edit features.
Note
Editing data served directly from shapefiles is not recommended. We recommend that you load your data into a spatial database such as PostGIS before editing.
If you don’t wish to edit any of your data, you can continue on to Compose and publish your map.
Editing an existing feature
To edit features for a given layer:
Use the pan and zoom tools to focus in on the area that contains the feature(s) that you would like to edit.
Zooming in on the features to edit
If it is not already, select the layer you wish to edit by clicking it in the Layers Panel on the left side of the screen.
The Edit menu on the toolbar will become enabled. Click this menu and click Modify.
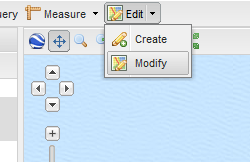
Select this menu entry to modify existing features
Click an existing feature. A pop-up will appear showing its current attributes. Click the Edit button to change the values for any of these attributes. In addition, clicking the Edit button will also enable the feature (if a point) or its vertices to be moved. Click a feature or its vertices in order to move them.
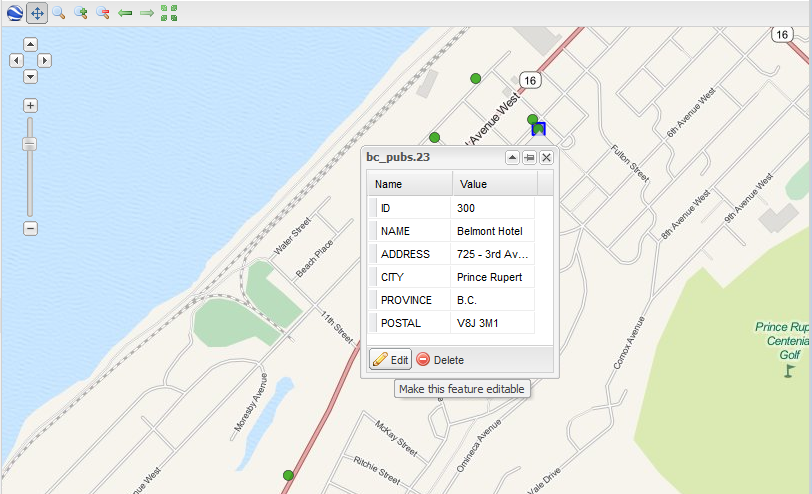
List of attributes with Edit button for editing
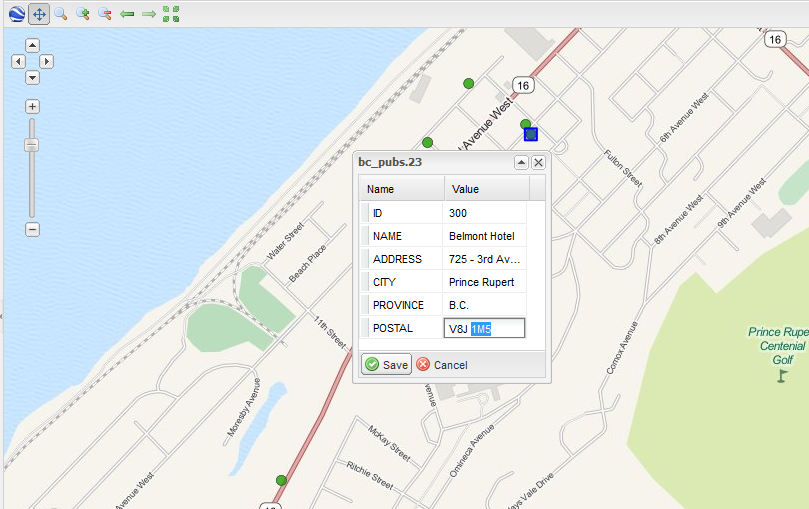
Changed attributes
When done making edits, click Save. The pop-up can then be closed.
Creating a new feature
To create a new feature in a layer:
First make sure, as before, that the layer is selected, then click the Edit menu and click Create.
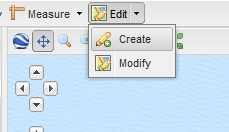
Select this menu entry to create new features
Click anywhere in the map window to start drawing the feature. The behavior will vary depending on the type of geometry in the layer (points, lines, or polygons). Clicking the map will add new features (for a point layer) or vertices. Clicking and dragging existing vertices will move them. Holding the shift button while dragging will draw smooth curves instead of discrete vertices.
Double-click the feature when done. A pop-up will display, where attribute data can then be entered. If creating a new point, the pop-up will display immediately.
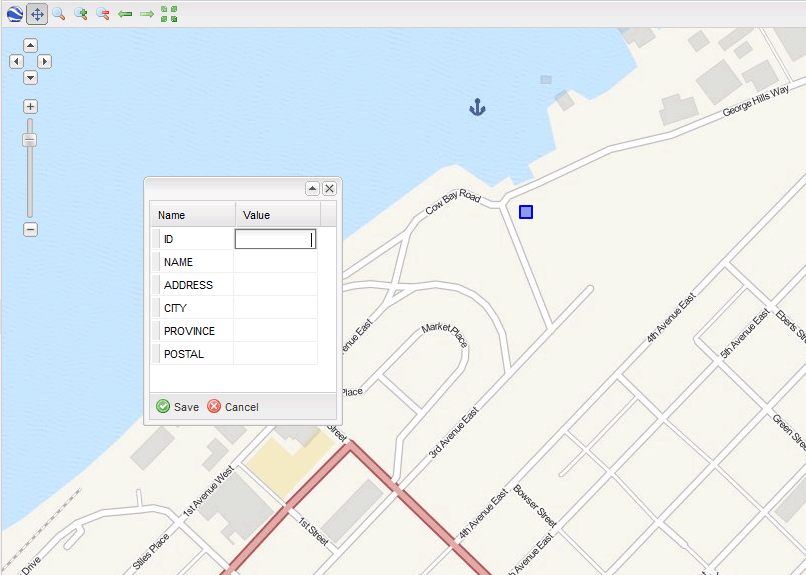
Creating a new feature
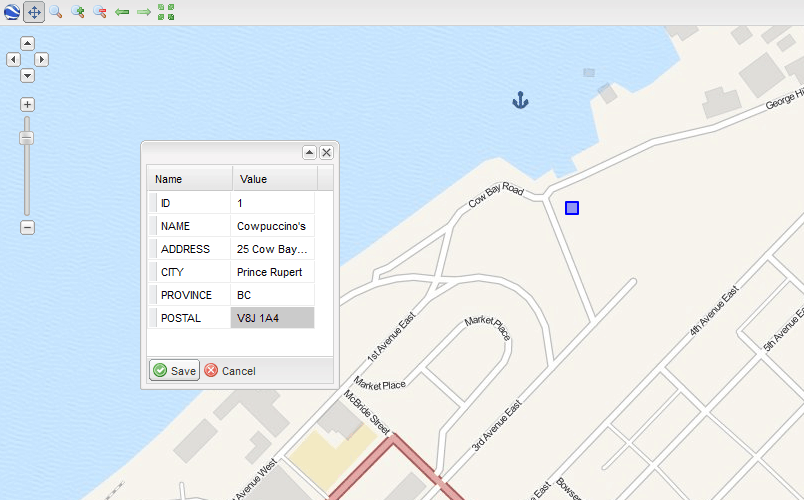
Editing the attributes of a new feature
When finished, click Save. Your new feature will immediately become part of the layer.
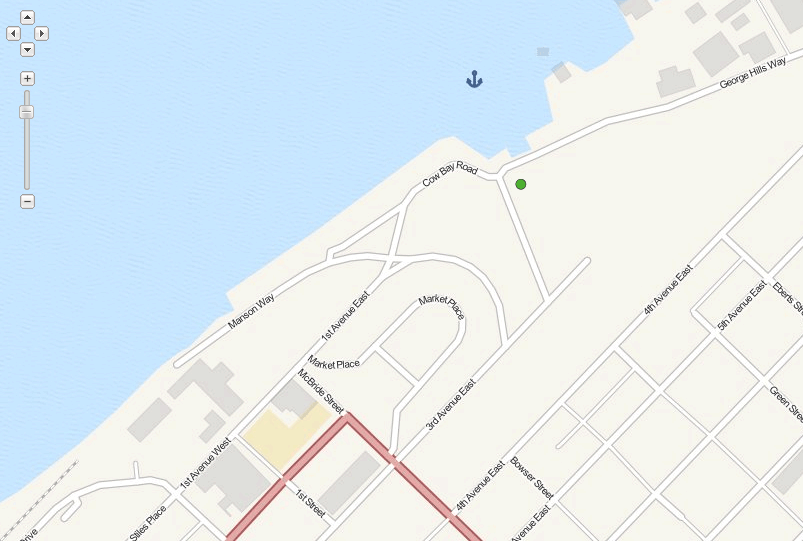
New feature saved
Deleting an existing feature
Warning
Deleting a feature is not undoable.
To delete a feature, click the Edit menu as above and click Modify.
Click a feature. A pop-up will display, showing the attributes of this feature. Click the Delete button.
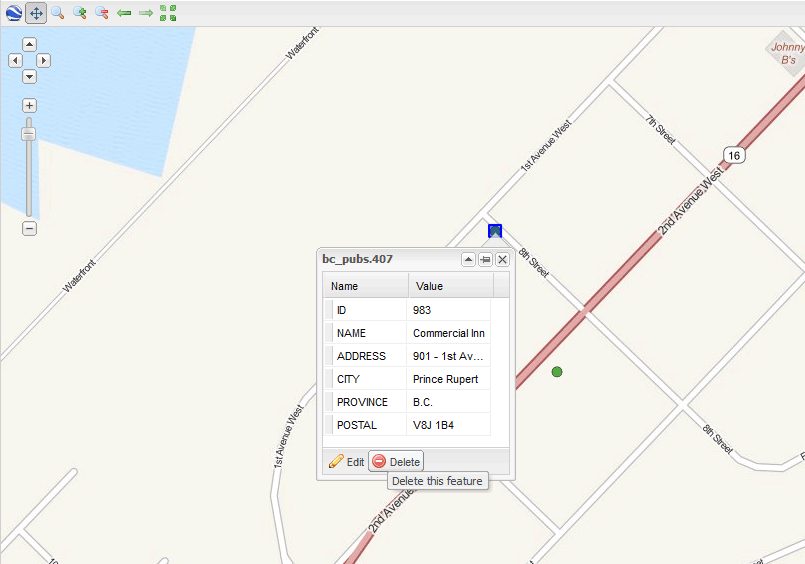
Deleting a feature
A confirmation dialog box will display. Click Yes to confirm deletion.

Confirmation for deleting a feature
The feature will be removed from the layer.
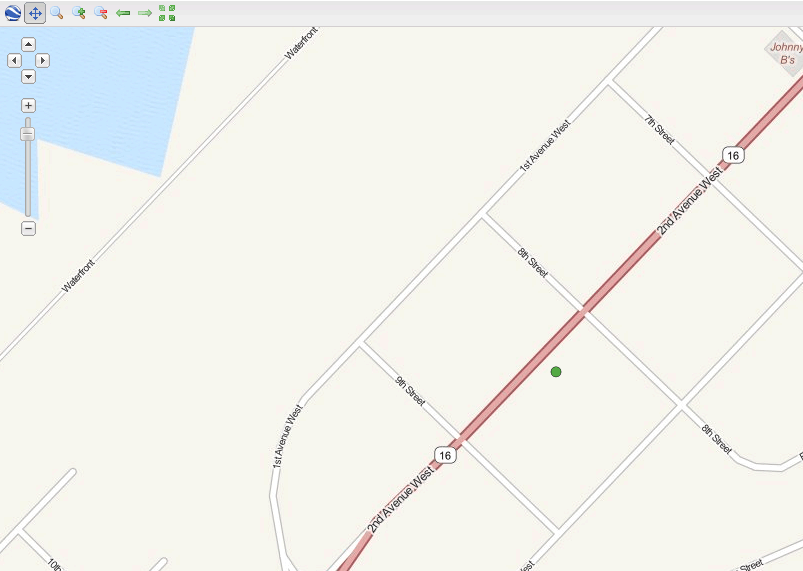
Feature deleted
Now that the data has been edited, continue on to Compose and publish your map.