Load your data with GeoExplorer
The first step is to load data into OpenGeo Suite. These are many tools and methods to accomplish this (see the Working with your data section), but the simplest way is to use GeoExplorer. GeoExplorer allows you to create web maps based on layers served through GeoServer and a variety of other sources. When deployed alongside GeoServer and PostGIS, GeoExplorer will convert spatial files into PostGIS tables, and then serve that data through GeoServer. This process is seamless; all you need to do is supply the data.
First, make sure OpenGeo Suite is running.
Run GeoExplorer by clicking GeoExplorer in the Dashboard or by navigating to its direct URL (such as
http://localhost:8080/geoexplorer).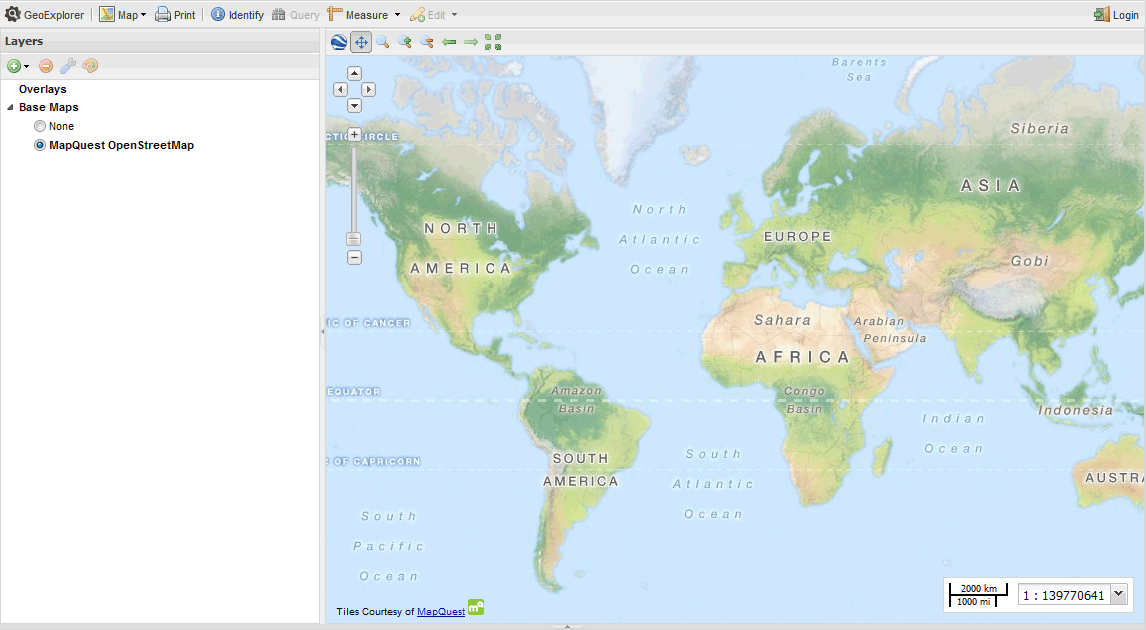
GeoExplorer
Click Add layers on the Layers panel toolbar, and then click Upload layers.
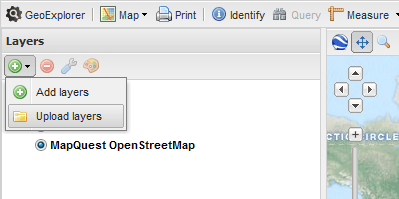
Uploading layers
For security reasons, you will be asked to log in. Enter the administrative user name and password for GeoServer. The default is
admin/geoserver.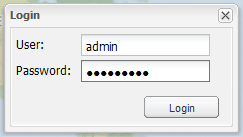
Login to GeoExplorer using GeoServer credentials
Note
For security reasons, it is strongly recommended that you change the admin password. See the Security section of the GeoServer reference for more information on changing passwords.
A dialog box will be displayed on the left side of the screen. There are boxes for Title and Description. You can add those fields in, or you can leave them to be auto-populated by GeoExplorer in the next steps.
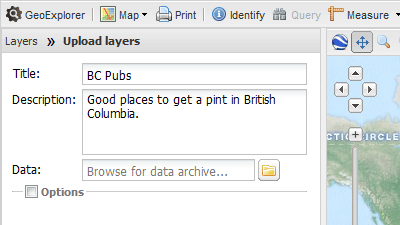
Title and Description fields for new layer
The third box is for the location of your data files. GeoExplorer accepts the following file types:
- Shapefile archive in
zipformat or equivalent, including all required files (.shp,.shx,.dbf,.prj) - GeoTIFF
Note
Uploading just the
.shpfile is not sufficient, as it does not contain all of the required information.Click the yellow folder icon to open the file select dialog box for your operating system. Select the file to upload, and click OK.
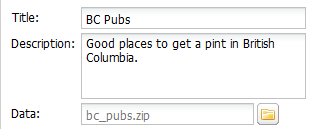
File selected and ready for upload
- Shapefile archive in
If your data does not include a
.prjfile, select the Options check box and enter the coordinate reference system ID in the CRS field.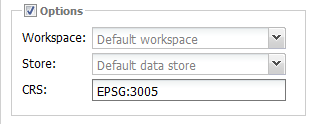
Manually declaring a CRS
When done, click Upload.

Click the Upload button to continue
Your data will be uploaded.

Progress bar during upload
Your file will be loaded as a database table, and this table will be loaded into GeoServer as a Layer. You should immediately see your layer in the Map Window.
Note
On some systems, the data may not be loaded into the database. Instead, the shapefile will be copied to the GeoServer data directory, and a new shapefile store will be created. You can verify this by navigating to the Stores page in the GeoServer admin interface and searching for the newly created store.
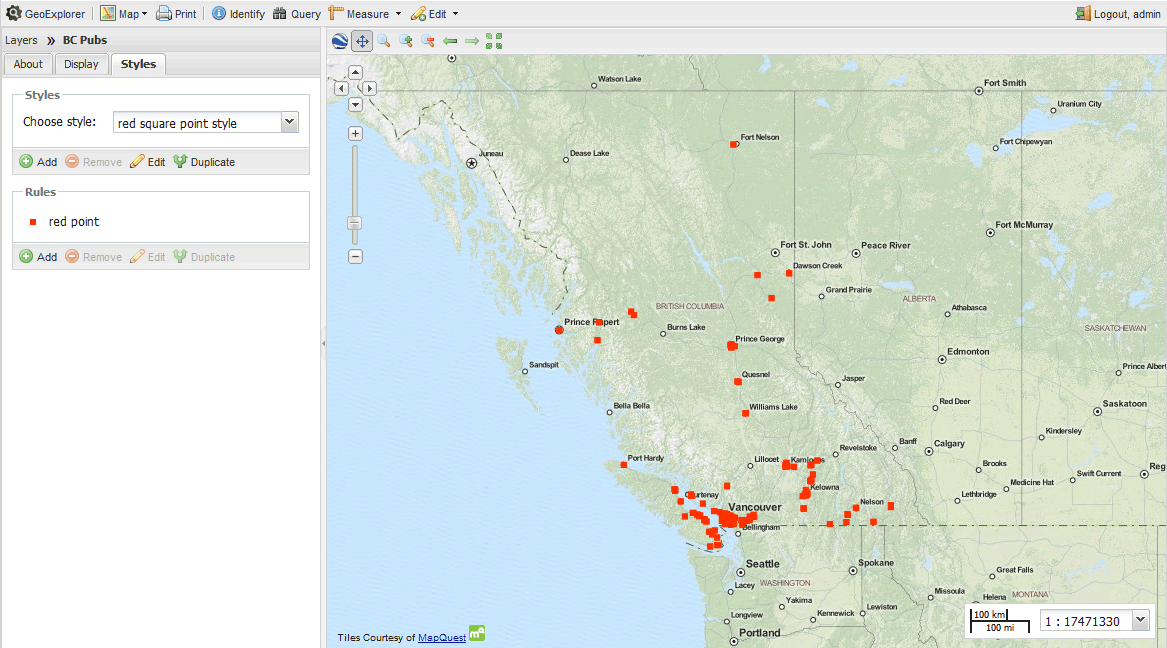
A successfully loaded layer
If you wish to load more data, you may repeat these steps. Otherwise, continue on to Style your layers.
Optional: Adding hosted base layers
GeoExplorer displays a default base layer (MapQuest OpenStreetMap) but many others are available. To select another base layer:
Click the Add layers on the Layers panel toolbar, and then click Add layers.
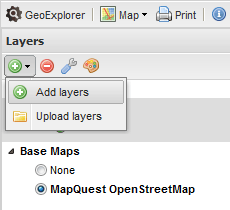
Adding layers
In the View available data from list, select an alternate data source, such as Google Layers or MapBox Layers.
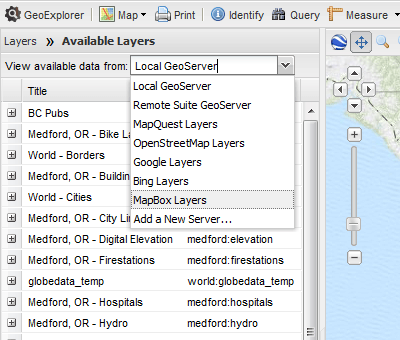
Hosted layer sources
A list of hosted layers will be shown. Click the layer you would like to add as a base layer, and click Add layers.
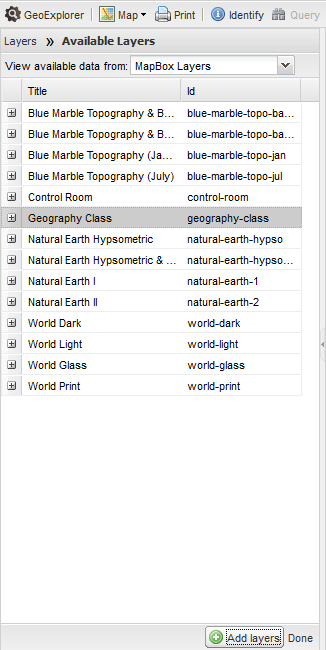
Selecting a hosted layer
The base layer will be added to the map. Only one base layer is visible at one time, so you may need to drag the layers around in the Layers List to view them properly.
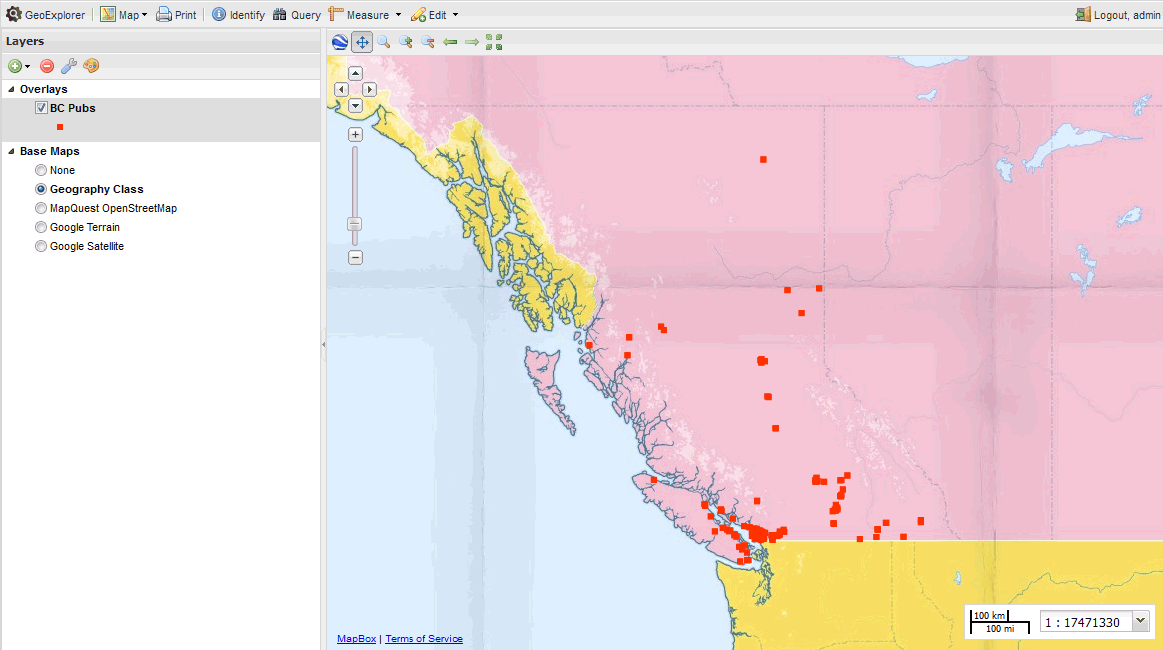
Hosted layer added to the map