Style your layers
After uploading your data, the Styling menu will open. While a simple style has been generated for your layer by default, you may wish to customize this style. GeoExplorer provides a tool to create and edit styles.
Warning
All style changes will apply and persist on the server immediately. We recommend you make a backup of a style before making any changes.
You can open the Styles dialog box at any time by clicking a layer in the Layer list and then clicking the Palette icon. Alternatively, right-click a layer and click Layer Styles.
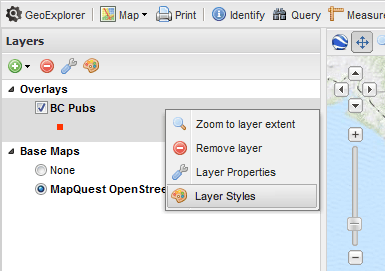
Accessing the Layer Styles editor
To edit a style for a given layer:
- In the Styles menu you will see a default Style containing a single Rule. To create a duplicate of this style for modification, click the Duplicate button.
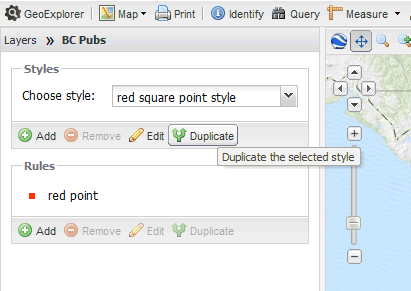
Duplicating the Style
To avoid confusion with the original style, provide a new Title and Abstract description. Once you’ve entered this information, click Save.
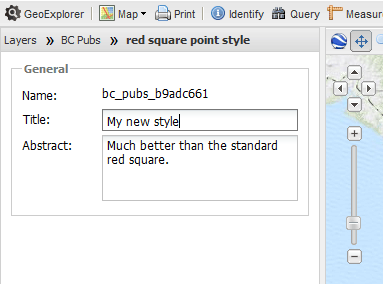
Style metadata

Click Save when done
Make sure the duplicated Style is selected in the Choose style box.
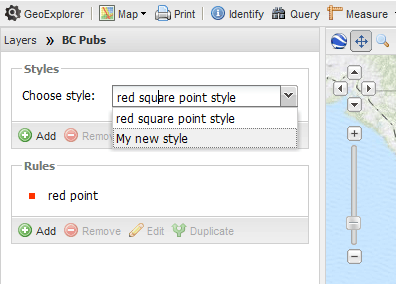
Selecting the new style
Click the existing rule in the Rules box, and then click the Edit button underneath.
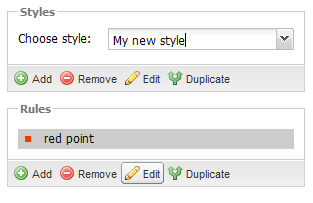
Click this button to edit the style rule
Change the style as you see fit, selecting from a range of options including size, color, opacity, filters, and much more.
Note
Please see the GeoExplorer Documentation for more about what can be styled here.
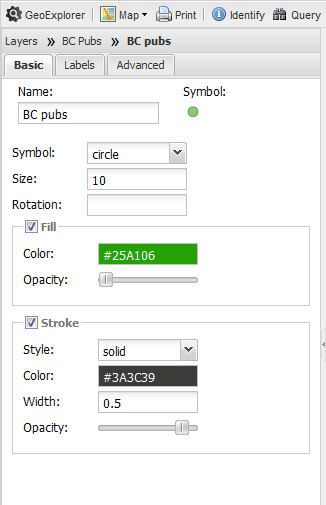
Editing the style
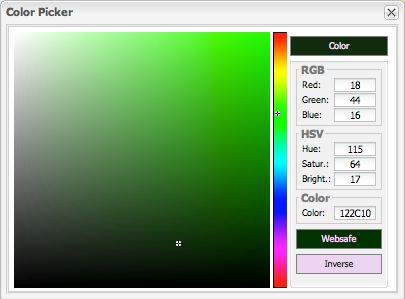
Using the color picker
Click Save to persist your changes. To go back to the main Layers List, click the Layers title in the Layers Panel at the top where it says Layers >> <your layer>.
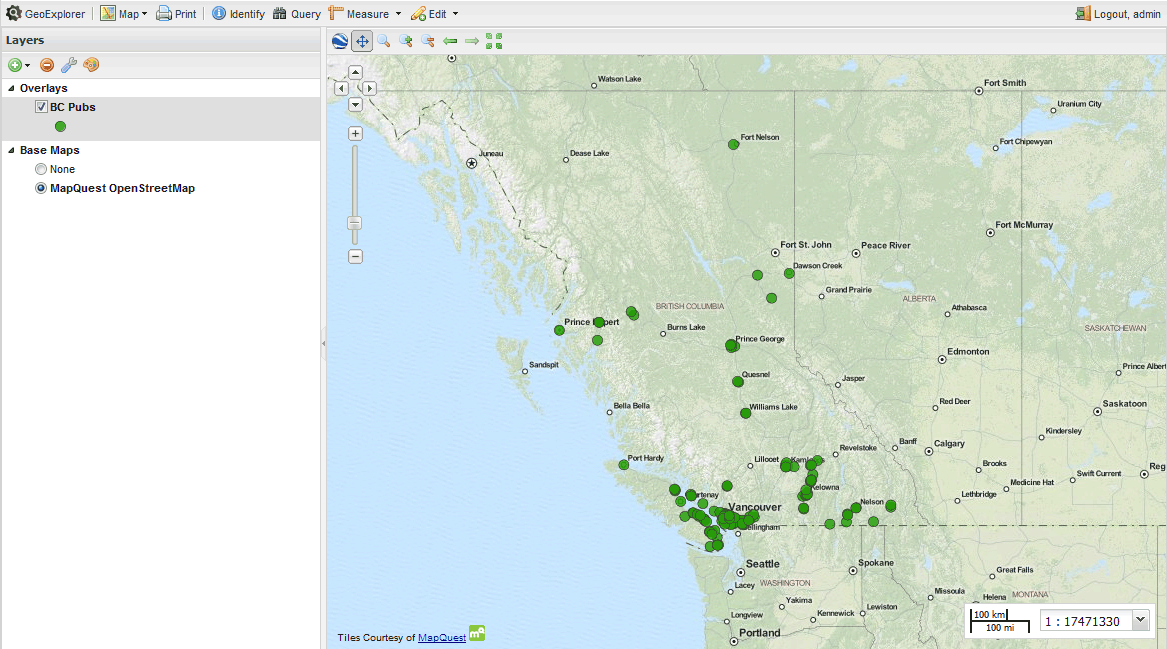
A new style for the layer
Repeat this process for any layers that you wish to style. To edit styles for another layer, click the layer in the Layers Panel and then click the Palette icon, or right-click the layer and click Layer Styles as shown above.
Note
If you need a more customized or complex style than what is possible through GeoExplorer, you can code your own style. See the Styling section of the GeoServer documentation for more information.
Now that your layers are styled, the next step is to Edit your data.